Building Water Bunds: A Step-by-Step Guide to Restoring Semi-Arid Land
Empowering Local Communities to Combat Desertification
Introduction
In the battle against desertification and the restoration of semi-arid land, water bunds play a crucial role. These raised barriers are simple to construct and highly effective in preventing erosion and retaining water for vegetation.
This step-by-step guide is designed to empower local communities in semi-arid areas with the knowledge to build water bunds effectively.
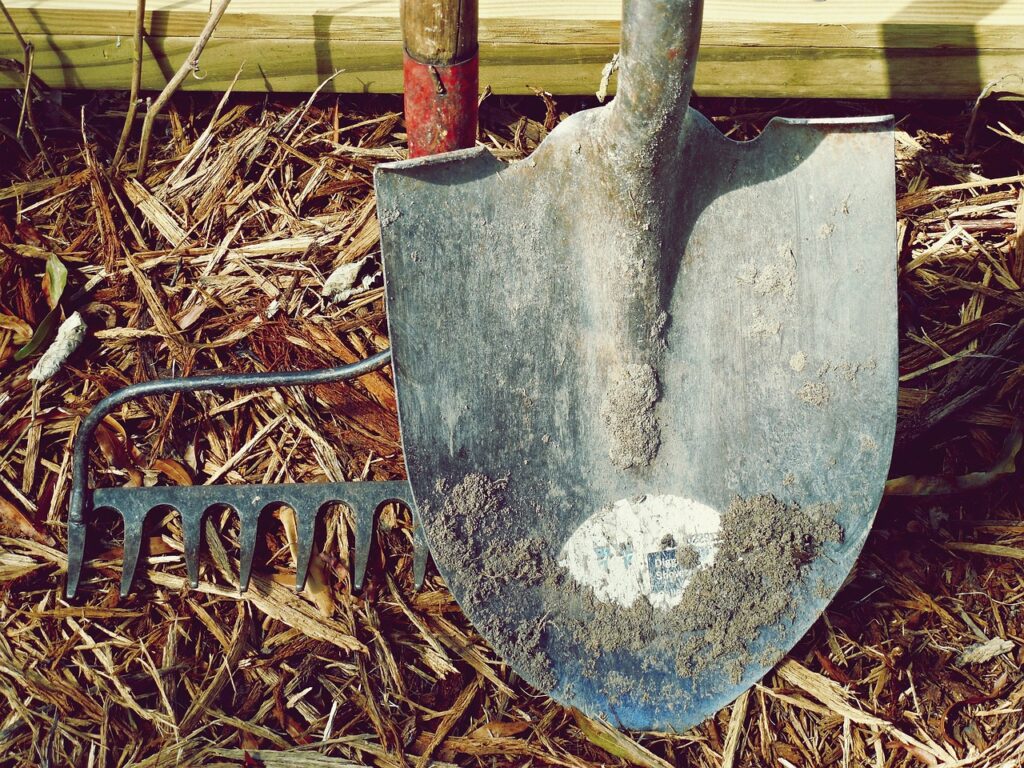
Materials You Will Need
- Shovels or spades
- Ropes and stakes (for marking contour lines)
- Measuring tape
- Wheelbarrows (optional)
- Soil (to build the bunds)
- Gravel or rocks (optional, for added stability)
- Seeds or seedlings (for planting)
Step 1: Determine the Contour Lines
Setting the Stage for Bund Construction
Identify the contour lines of the landscape where you plan to build the bunds. Contour lines are the natural curves that run horizontally across the terrain.
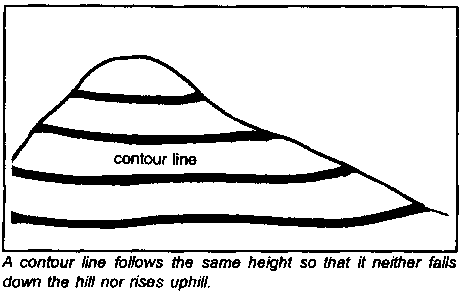
Use ropes and stakes to mark these contour lines, ensuring they follow the natural slope of the land. This step is crucial for effective water retention and preventing erosion.
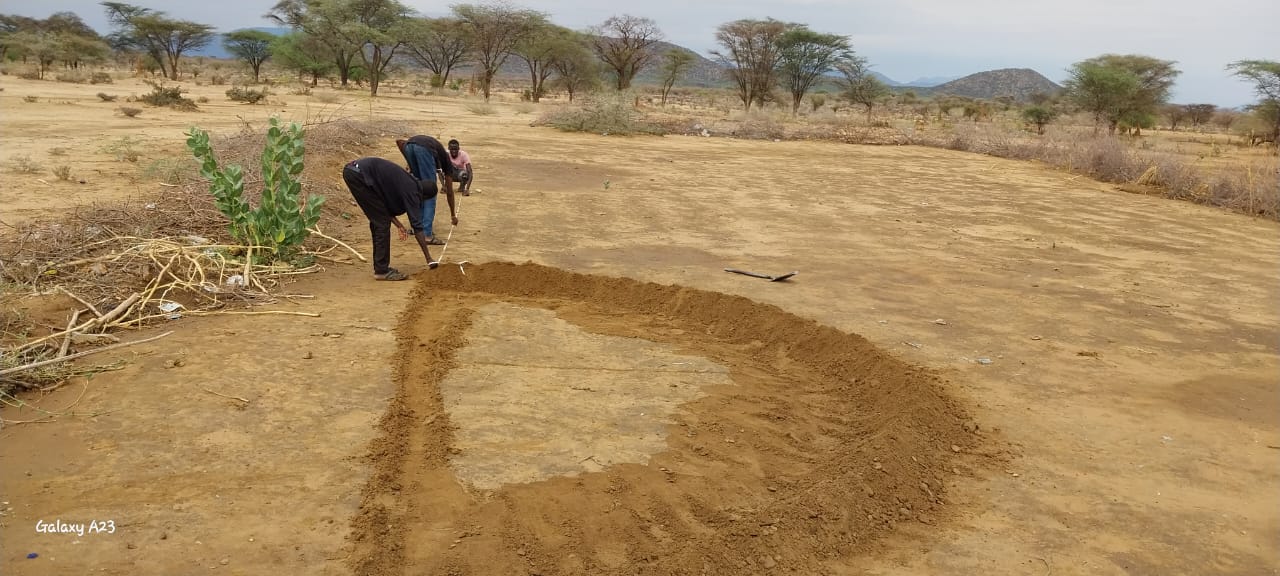
Step 2: Mark and Design the Bunds
Shaping the Crescent Barrier
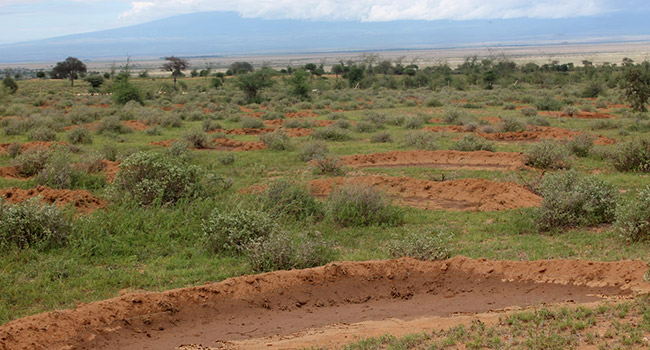
- Determine the width and height of the bunds. A typical bund is about 2.5 meters long and 5 meters wide, roughly the size of an adult elephant.
- Mark the location of the bunds along the contour lines, ensuring they follow the curve of the landscape.
- Design the bunds in a crescent shape, with the “closed” side facing downhill. This design captures and delays water runoff.
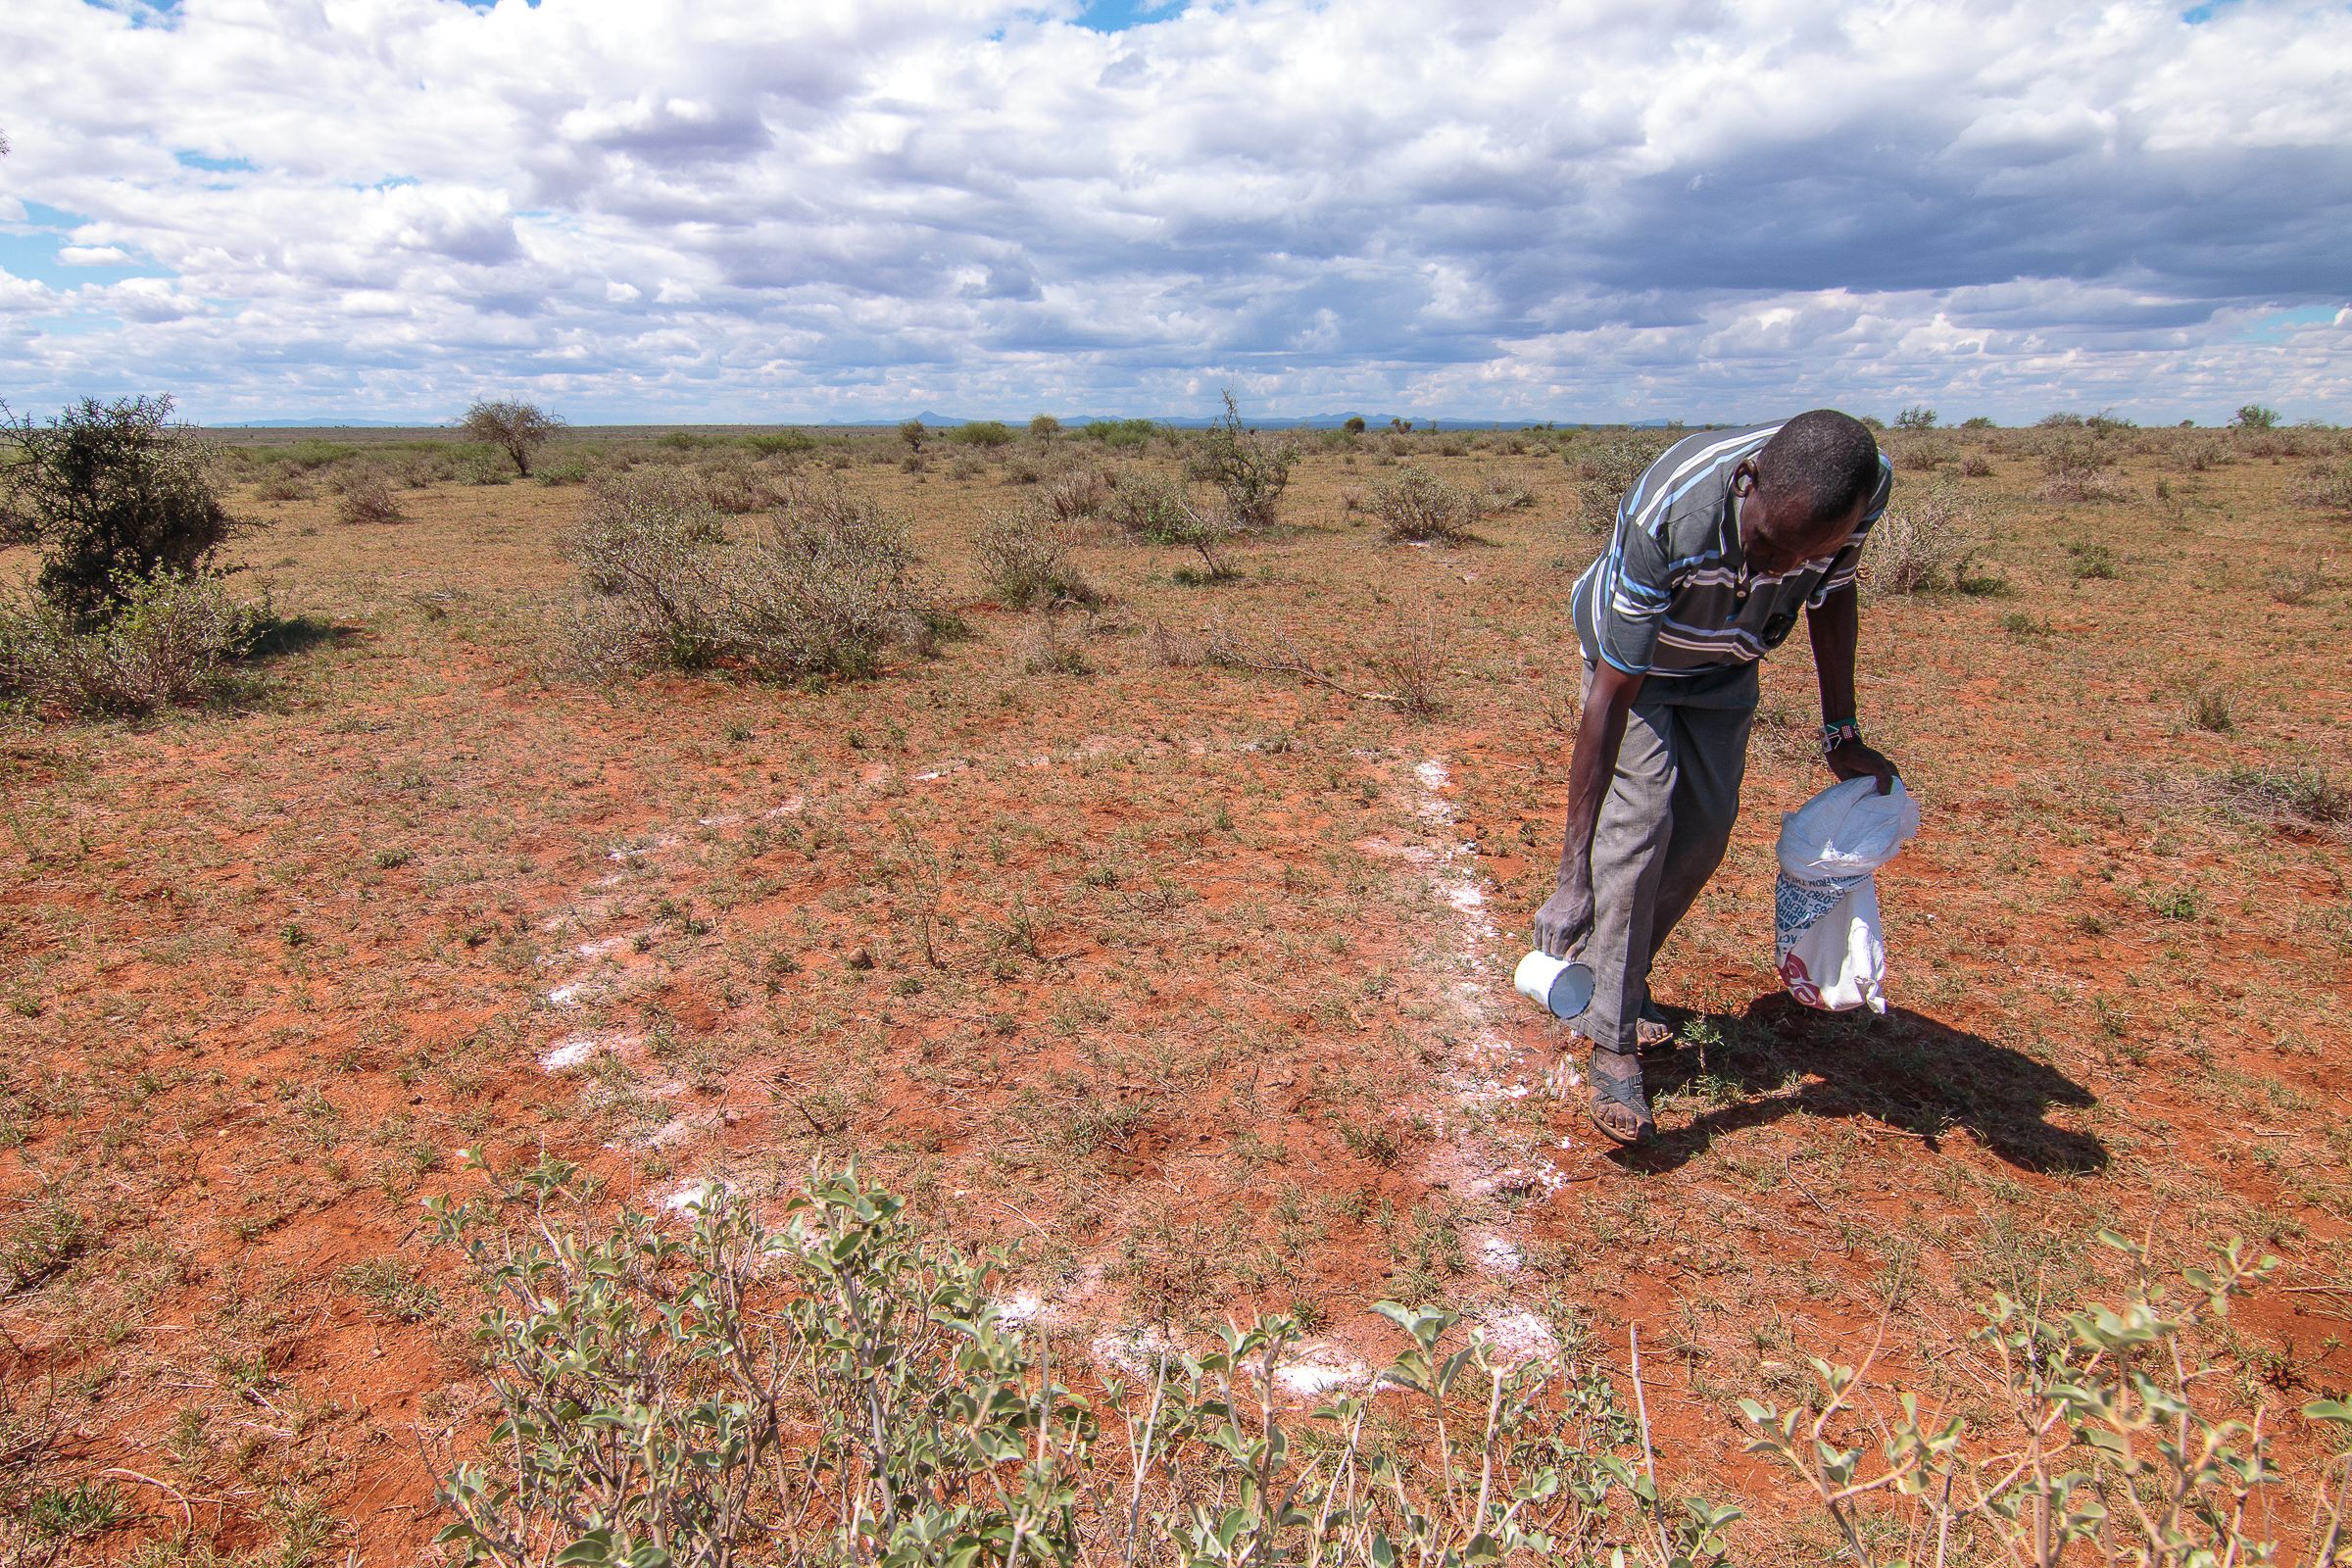 Photo Credit: Tony Wild
Step 3: Begin Digging the Bunds
Creating Earth Smiles
- Start digging the bunds along the marked lines. The depth and width of the bunds can vary depending on the terrain, but a typical depth is about 30-50 centimeters.
- Place the excavated soil on the inner side of the bund to create the raised barrier.
- For added stability, consider adding gravel or rocks to the base and sides of the bunds.
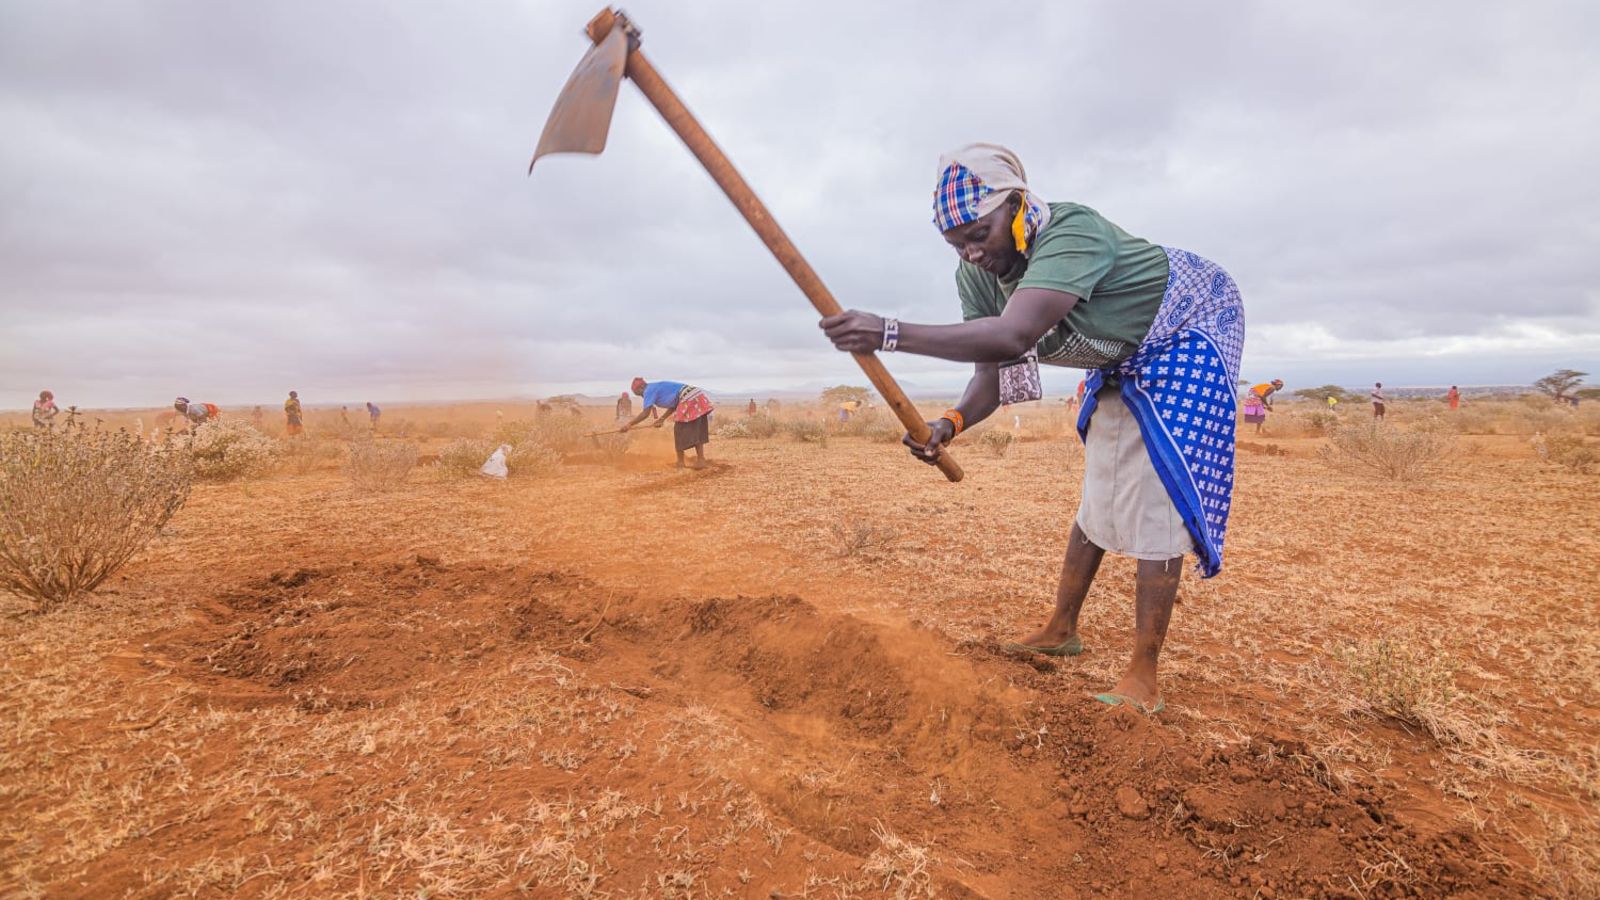 Women prepare half-moon bunds in readiness for the coming rains in Olorika, Kajiado County. Photo Credit: Leon Lidigu
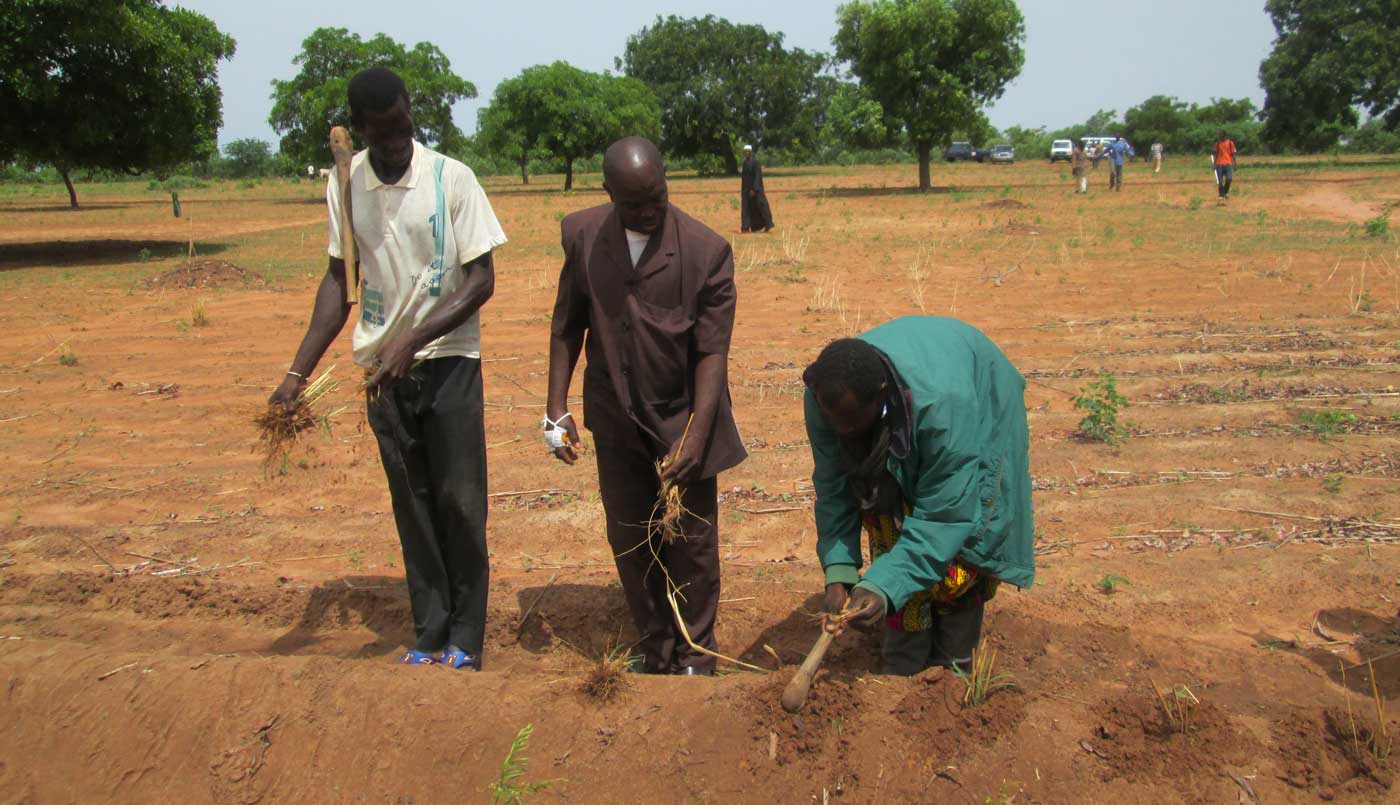
Step 4: Verify Contour Alignment
Ensuring Proper Water Flow
- As you dig, regularly check the alignment of the bunds with the contour lines to maintain their effectiveness.
PlantVillage field officers marking on the ground before digging a soil bund. Photo credit Evans Kangiro.
Step 5: Plant Vegetation
Nurturing New Life
Once the bunds are in place, it’s time to plant seeds or seedlings in the exposed soil inside the bunds. This will help jumpstart vegetation growth.
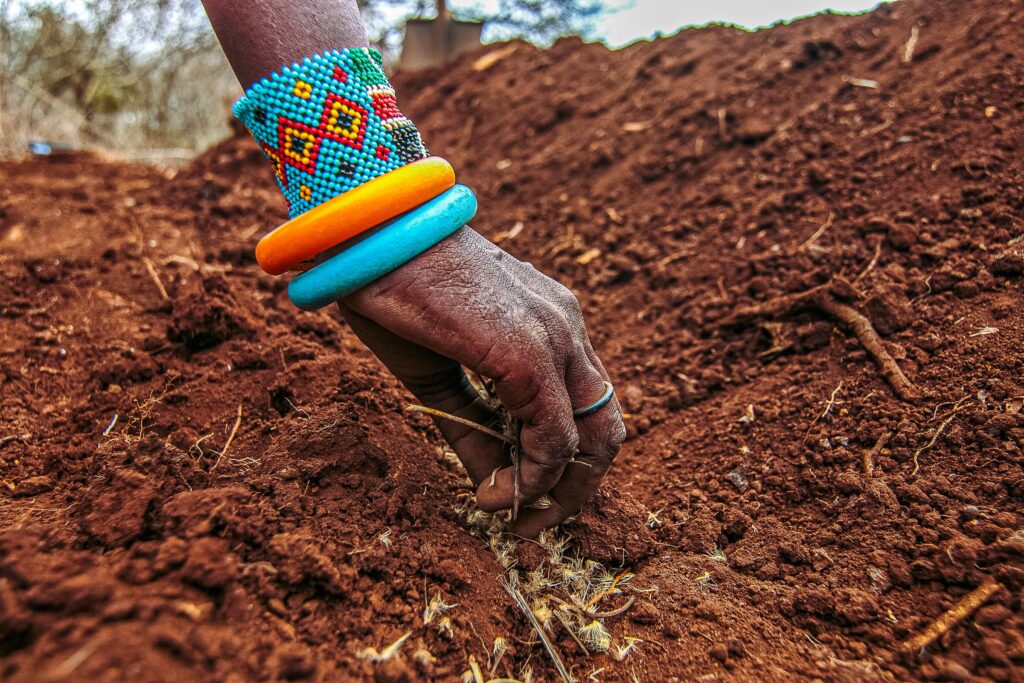
Photo Credit: Tony WildChoose drought-resistant and native plant species that are well-suited to the local climate.
Ensure adequate spacing between plantings to allow for healthy growth.
Credit: ICRISAT
Step 6: Maintenance and Monitoring
Caring for the Bunds
- Regularly inspect the bunds for signs of erosion, damage, or sediment buildup. Repair any issues promptly.
Keep an eye on the planted vegetation, providing necessary care such as watering and weeding.
Credit:https://www.waterproductivity.org/
Conclusion
By following these step-by-step instructions, local communities in semi-arid areas can harness the power of water bunds to combat desertification and restore their land. These earth smiles are not just barriers; they are symbols of hope and resilience, turning arid landscapes into fertile ground for a greener, more sustainable future.
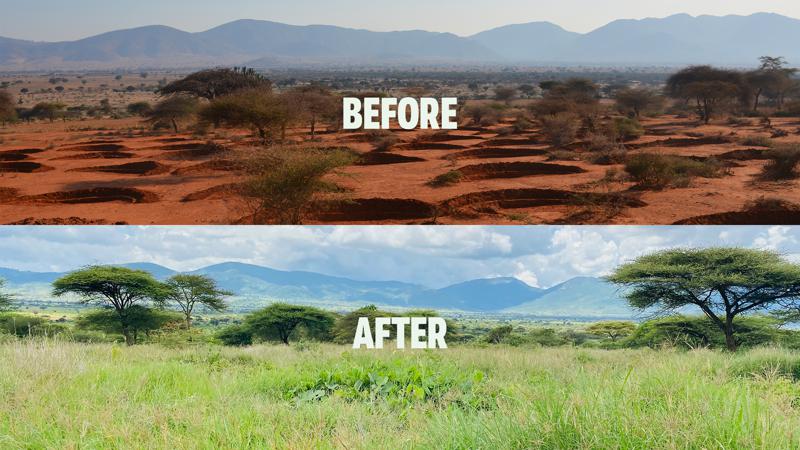
Image credit: Justdiggit